
Online Medicare/DVA Claiming
Optomate Touch supports Paperless Medicare & DVA Bulk-Billed Store & Forward Claiming, Real Time Patient Claims, Online Patient Verification and Online Veteran Verification.
The above components are built into the Optomate Touch application and simply requires the practice to have a PKI (Public Key Infrastructure) Site Certificate and internet connection. If you do not have a PKI Site Certificate you can apply for one here. When making your application you will require a Minor ID. Please call the Monkey Software Help Desk on 1300 650 295 for information regarding your Minor ID.
Optomate Touch v2.0 supports the all new Services Australia’s Web Services claiming platform and PKI Site Certificates are now no longer required. Please note that the current PKI Certificate driven claiming platform will be retired by Services Australia on March 13th 2022.
To setup Online Claiming in Optomate Touch, from the Main Menu click the Branches tile under Setup, double-click on your Branch record to open it, then click on the “Online Claiming” tab.
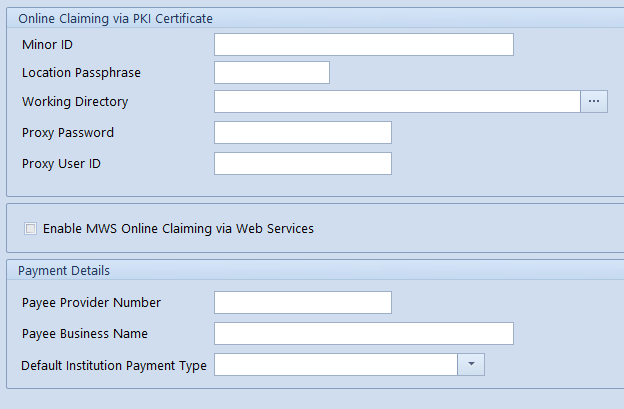
Enter your Minor ID (supplied by Monkey Software). Payee details are only required where the individual optometrists are not being paid for claims directly. The default payment type is used when processing a Claim Batch.
Optomate Touch v2.0 Online Claiming utilises the Monkey Software PRODA account for all customers. If you would like further details regarding PRODA please visit https://www.servicesaustralia.gov.au/organisations/health-professionals/subjects/proda-education-health-professionals.
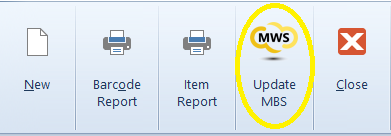
In order to process claims you must ensure that your MBS fees are up to date and you have entered your Optometrist Provider Numbers for each branch. To update your MBS click on the Consultations tile under Items on your Main Menu, then click on the Update MBS button in the toolbar.
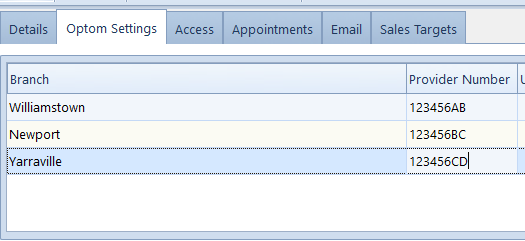
To update Providers Numbers, click on the Users tile under Setup, then double-click on the Optometrist User you wish to update. Click on the “Optom Settings” tab and enter your Provider Numbers against each branch.
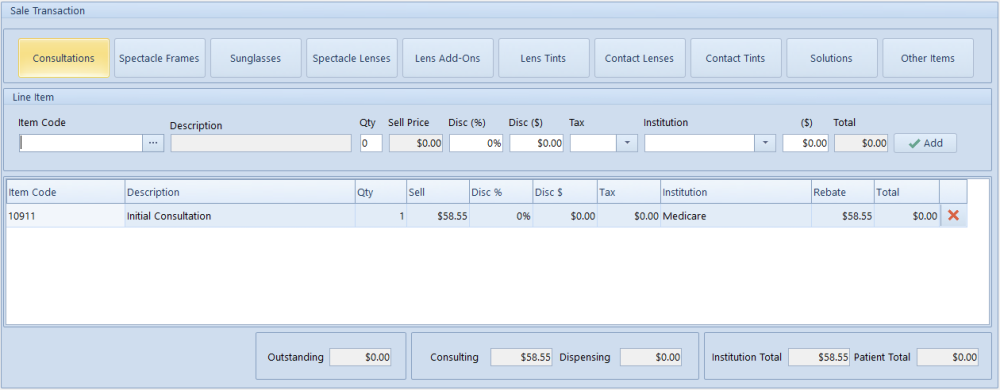
In order to raise a Patient Invoice that can be claimed, find your patient record by going to the Main Menu, clicking the Patients tile, finding your patient then double-clicking to open the patient record. Then click on the Invoice button at top of screen. You will prompted to enter the Item Code being billed. Manually enter your billing code or click one of the search buttons above to find the billing item. If you are bulk-billing an item (for the purposes of sending this via a Store & Forward batch claim), ensure that the Institution field contains either “Medicare” or “DVA”. Click the Add button or press [Enter] to confirm the item.
Once you have completed your Patient Invoice click the Save or Save & Close button at top of screen.
When you save an invoice that includes items billed to Medicare, an Assignment of Benefits (AoB) pop-up, by default, will be displayed (sample below).
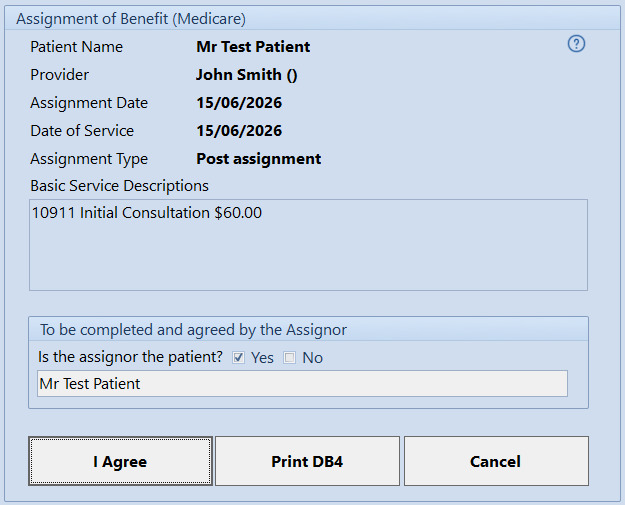
This pop-up confirms the service items and assignor details. If the assignor is not the patient, their name can be entered directly in the pop-up, for example, when the patient is under 18, the assignor would be the guardian.
A ‘Print DB4’ button is available to generate a DB4-Post Assignment form, if you prefer the patient to manually sign their Assignment of Benefit. Alternatively, the patient can click the ‘I Accept’ button. After ‘I Accept’ or 'Print DB4' is selected, the button will turn green to denote it has been clicked, then practice staff can click ‘Close’ to proceed. This ensures the patient cannot view any information behind the pop-up.
Please note that when the patient clicks the 'I Accept' button, this is considered a valid electronic signature under the Electronic Transactions Act 1999 (Cth), as the patient has been identified above and has clearly indicated their intention to agree to assign their benefit to the practice.
When the pop-up is closed, Optomate records an audit entry, which can be accessed via Reports > Audit > Medicare AoB Audit Report.
If you are using an alternative platform to process bulk-billed items (such as an Easyclaim terminal), you can disable the AoB pop-up in System Settings under the Settings tab by selecting ‘Suppress AoB billing confirmation and audit'.
If you use the Patient Registration process, allowing you to send a secure link from appointments so patients can update their details online, the patient will be presented with a pre‑approval AoB statement. They can click to confirm they wish to assign their benefit to the practice. Once selected, a green confirmation message will appear on the AoB pop-up indicating that the patient has pre‑approved.
Note: If an error occurs when submitting Claims or Retrieving Reports, Optomate will display a description of the error returned by Services Australia. If you have any questions regarding error resolution please contact our Help Desk on 1300 650 295.